Windows 7
A regular (little) PC with Microsoft Windows on it, is in general a very solid digital signage setup. In this section we'll show you how to install and configure Google Chrome as the browser that is used for channel playback. We also describe what you should do to have the PC shut down automatically and startup everything automatically when you switch it on again.
Latest Video Drivers
For optimal graphics performance, make sure you are running the latest video drivers on your computer.
- Go to Start > Control Panel > Display.
- Click Change display settings.
- Click Advanced settings (to the right on the middle part of the screen).
- On the Adapter tab click the Properties button.
- On the Driver tab click Update driver.
- Click Search automatically for updated driver software.
- A message will appear to tell you the driver is up to date or instructions on how to update your driver.
Google Chrome Installation
- If Google Chrome is not yet installed, open your current web browser and go to http://google.com/chrome and then download and install the latest version of Google Chrome as instructed.
- When asked, set Chrome to be your default browser.
- If Chrome is already installed you can set it as the default browser:
- in Chrome, click the button on the top right with the three horizontal lines (or dots depending on the version of Chrome)
- click Settings
- select Make Google Chrome my default browser
- Now make sure that videos with sound can play correctly:
- Type
chrome://settings/content/soundin the address bar. - In the section Allow press the Add button.
- Type
[*.]bizand press Add.
- Type
Disable Windows Auto-Updates
Just like you don't want Chrome to automatically update, you also want the same for Windows. On a regular computer that you use yourself every day this is bad advice, especially since you need to be protected against the latest threats when pulling in e-mail, downloading unknown programs and visiting all kinds of new websites. However, on a computer that only visits the same well-known website over and over again, this is less of an issue. Instead you want to make sure that the channel playback does not get interrupted by any update procedure. Here's how you do that.
- Go to Start > Control panel > Windows update
- Choose Change settings,
- Under Important updates choose the option Turn off automatic updating. I want to update my computer manually.
- Under Recommended updates check Give me recommended updates the same way I receive important updates.
Disable Energy Saving Mode
To make sure that the screen does not turn black after a few minutes, do the following:
- Go to Start > Control panel > Power options
- Select the High performance plan (possibly found under Show additional plans).
- Click to the right of this plan Change plan settings
- Select Never for all options.
- Set both Brightness sliders to the right most position.
In addition we need to make sure that the computer does not automatically go into sleep (hibernation) mode:
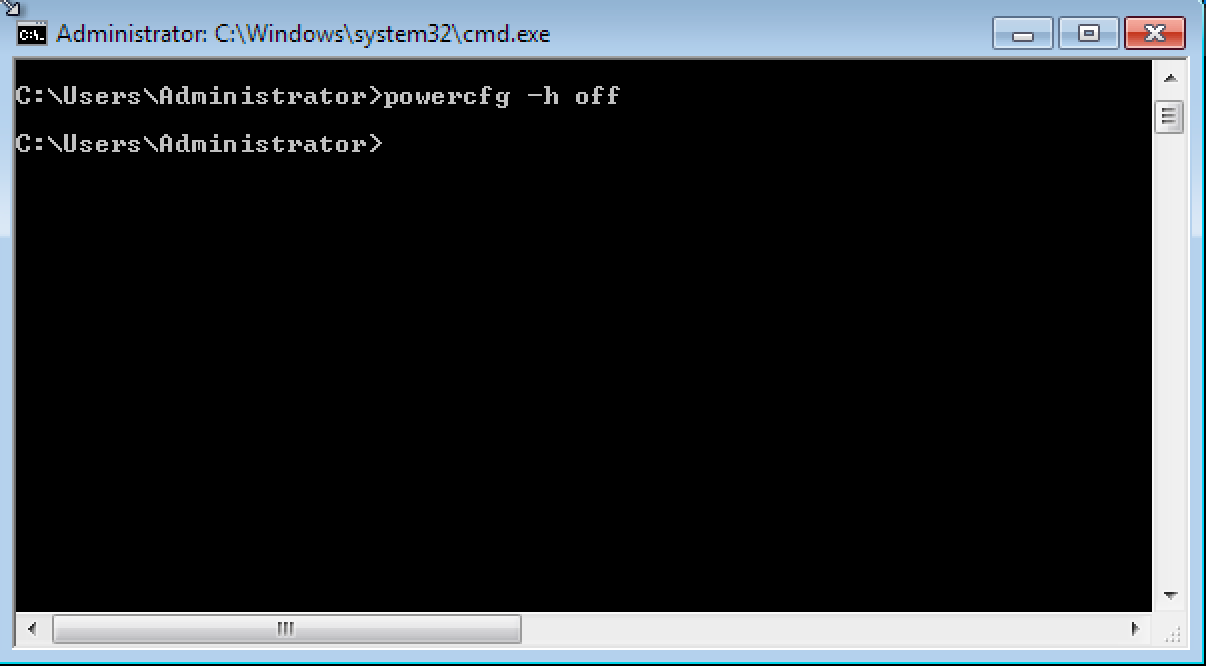
- Go to Start, type cmd and hit the enter key
- In the black window that you see now, type
powercfg -h off
Automatically Start Chrome On Startup
To make Google Chrome start automatically when Windows starts, do the following:
- Download this zip file and unpack it to the Desktop of your computer. Place the files
StartChromeForPlayr.cmdandplayr_loader.htmlon your Desktop. - Check if Chrome starts up by double clicking the
StartChromeForPlayr.cmdfile. If Chrome starts full screen and shows a Bizplay (player registration) page, then this works correctly. - Quit Chrome by pressing Alt + F4.
- Go to Start and start typing Task Scheduler; select the Task Scheduler from the popup window.
- Choose Create basic task and name it Start Chrome for Bizplay, click Next.
- Set that this task has to be executed When I log in, click Next.
- Choose the action Start a program, click Next.
- Click the Browse button and select the
StartChromeForPlayr.cmdfile on the Desktop. - To make startup more smooth: check “Open the Properties dialog for this task when I click Finish” before you click Finish.
- Go to the Triggers tab, click At log on trigger and choose Edit...
- Under Advanced settings, check Delay task for and choose 30 Seconds. This way Chrome will start up 30 seconds after Windows has started. This will allow for network and internet connections to have been established.
Automatic Player Shutdown (Sleep Mode)
If you like to save some energy, you can set the computer to go into sleep mode when you like your channel to stop playing.
- Go to Start and start typing Task Scheduler; select the Task Scheduler from the popup window.
- Click Create basic task enter a name like Shut down and click Next.
- Set the trigger to Daily and click Next.
- Set the Action to Start a Program and click Next.
- Set the Program to
C:\Windows\System32\rundll32.exeand set the Argument topowrprof.dll,SetSuspendState 0,1,0and click Next. - On the last page check “Open the Properties dialog for this task when I click Finish” and click Finish.
- On the General tab under Security options check Run whether user is logged on or not and check Run with the highest privileges.
Automatic Player Startup
Create a task to automatically wake your computer out of sleep mode.
- Go to Start and start typing Task Scheduler; select the Task Scheduler from the popup window.
- Click Create basic task enter a name like Start up and click Next.
- Set the trigger to Daily and click Next.
- Set the time the computer has to wake up, set Recur every to 1 day and click Next.
- Set the Action to Start a Program and click Next.
- Set the Program to
ipconfig.exeand set the Argument to/renewand click Next - On the last page check Open the Properties dialog for this task when I click Finish and click Finish.
- On the General tab under Security options check Run whether user is logged on or not and check Run with the highest privileges.
- On the Conditions tab under Power check Wake up computer to run this task.
It depends on the computer you are using if this automatic startup is going to work. So be sure to test it. The alternative is to set auto-startup in the computer's BIOS. You will have to read the BIOS user manual to find out if and how that works on that specific computer. For more details on this, also check the Linux section.
If a password has been set for the user account with which you log on to this computer, then this password should be removed/disabled to prevent a login screen when the computer starts.
- Go to Start > Control panel > Power options.
- Click Require a password on wakeup in the left column.
- Check Don't require a password at the bottom of the window.